
OpenCms Stack With Docker (Part I)
- 4/9/14 6:27 AM
- @ak_cloudssky
OpenCms Stack With Docker (Part I)

Part I
Get the full story here: http://ow.ly/uFzGk
This tutorial is about how to build a dockerized OpenCms Stack running on Ubuntu 12.04 (Precise) and CentOS VMs on your laptop, on Eucalyptus, OpenStack, CloudStack, OpenNebula, Virtual Box or on any other Cloud OSes or Virtualization Platforms or on your Bare Metal Servers in Production and use it to build your auto- scalable business apps with OpenCms.
In the first part of this tutorial we are going to install the latest OpenCms 9.0.1 version in Docker managed LXC Containers. First we’ll install Docker in an Ubuntu VM Image (named docker-ubuntu) which is running in our case on Eucalyptus and on OpenStack environments. But you can use any other VMs running on your local machine (i.e. in VirtualBox) or install it directly on bare-metal servers, on your Mac OS X, or on your Ubuntu developer laptop, or on Amazon VMs, etc.
About Docker
Some words about Docker, simply put, Docker is the Git for Deployment of web apps and a framework for your DevOps culture, which uses the Linux Container (LXC) Technology at this time, but in the very near future it could be used to run its own container format independent from LXC. Some people refer to Docker as a PaaS enabler, some others as VM killer. From my point of view at this time Docker and the VM technology are complimentary, you can use VMs to build container farms, as you can use bare metal servers to build VM farms. With the Container Technology we will see a shift in development and deployment of web apps, stay tuned.
On the docker.io homepage you can read:
“Docker is an open-source project to easily create lightweight, portable, self-sufficient containers from any application. The same container that a developer builds and tests on a laptop can run at scale, in production, on VMs, bare metal, OpenStack clusters, public clouds and more.”
You might want to refer to Docker documentation and the installation instructions for any other OSes here.
About OpenCms
Some words about OpenCms: simply put, OpenCms was the first Open Source Java based Content Management System developed by Alexander Kandzior and his great team at Alkacon Software and is the best Java based Content Management System in the world (at least from my point of view at this time writing this tutorial). One of the shortcomings of OpenCms was auto-scalability, which we could solve through Metamesh’s OpenCms Cloud eXtenstions implementation, which enables OpenCms to auto-scale on AWS, Eucalyptus, or with the docker technology on top of OpenStack and with the help of Heat API.
About OpenStack
OpenStack is the Linux of Cloud Operating Systems and a community solution to open source Cloud Servers.
The OpenStack project and foundation was founded by Rackspace Hosting and NASA in July 2010. The initial OpenStack code base came from NASA's Nebula platform as well as Rackspace's Cloud Files platform. OpenStack is probably the largest collaborative open source software project among several big players like Canonical, Cisco, DELL, HP, IBM, Nebula, Red Hat, SuSe and more than 850 organizations and companies and 5600 individual members in the cloud computing space.
The goal of the first part is to show you what portable means, and how to use portable OpenCms containers to help to build an OpenCms Stack for the second part of this tutorial.
After installing OpenCms in a Docker container we’ll save it and load / import it into a CentOS VM powered by Docker (docker-centos) to show how Docker could help to build portable OpenCms containers and run them on DEV, Staging and Production environments in few minutes (even seconds).
In Part II (1) “OpenCms Stack” we will extend our installation and create separate docker images for MariaDB, tomcat and apache installed in different container images and use an HA Proxy image to balance our OpenCms Stack.
In Part II (2) we provide the OpenCms Stack All-In-One image for download, which you can import into your own docker image repository and run a new container from it and access your OpenCms All-In-One Stack through SSL. Metamesh’s RFS / VFS Driver is already installed into this docker container image.
In the third part of this tutorial we will use our base “portable” installation and integrate it with Metamesh’s RFS / VFS Driver and show how we can use it to integrate it with Google Drive and upload some videos or other documents and integrate them in our OpenCms Container Pages, yes Containers on top of Containers :-)
In the last part of this series we will introduce OpenCms enhanced with Metamesh’s OpenCms Cloud eXtentions (OCCX) running on OpenStack, which provides a cloud ready version of OpenCms supporting Multi Workplaces running in different regions in the world with auto-scaling and load balancing support and provide some tips how to protect your OpenCms Cloud against DDoS attacks.
Installing Docker on Ubuntu and use it for an All-In-One OpenCms Stack Installation
Lets begin, I assume you have a running Ubuntu (either a VM or a physical machine), my Ubuntu VM’s name is docker-ubuntu.
Here we go, on Ubuntu Precise 12.04 LTS running on OpenStack.
First update your Ubuntu (if not done already).
root@docker-ubuntu:~# sudo apt-get update
Install the raring kernel, for more information please refer to Docker Ubuntu documentation:
http://docs.docker.io/en/latest/installation/ubuntulinux/
root@docker-ubuntu:~# sudo apt-get install linux-image-generic-lts-raring
root@docker-ubuntu:~# reboot
root@docker-ubuntu:~# sudo apt-key adv --keyserver keyserver.ubuntu.com --recv-keys 36A1D7869245C8950F966E92D8576A8BA88D21E9
root@docker-ubuntu:~# echo “deb http://get.docker.io/ubuntu docker main” >> /etc/apt/sources.list
Install docker-lxc packages:
root@docker-ubuntu:~# sudo apt-get install lxc-docker
Or run:
root@docker-ubuntu:~# curl -s https://get.docker.io/ubuntu/ | sudo sh
Verify the installed docker version:
root@docker-ubuntu:~# docker version
Client version: 0.9.0
Go version (client): go1.2.1
Git commit (client): 2b3fdf2
Server version: 0.9.0
Git commit (server): 2b3fdf2
Go version (server): go1.2.1
Last stable version: 0.9.0
Update March 22nd: you can use Dokku to install Docker much more easier (Dokku is the smallest PaaS environment at this time).
root@dokku-ubuntu:~# wget -qO- https://raw.github.com/progrium/dokku/v0.2.2/bootstrap.sh | sudo DOKKU_TAG=v0.2.2 bash
ToDo: investigate the use of Dokku, Flynn and DEIS for scaling.
OpenCms All-In-One installation in a single Docker Container
Now fire up your first docker powered LXC container, run a shell and install Tomcat 7 and MariaDB / MySQL (Apache is optional for this tutorial):
root@docker-ubuntu:~# docker run -i -t ubuntu:precise /bin/bash
Unable to find image 'ubuntu:precise' locally
Pulling repository ubuntu
9cd978db300e: Download complete
511136ea3c5a: Download complete
6170bb7b0ad1: Download complete
root@551ce948eda4:/#
You’re now in your fresh running container with the Container ID 551ce948eda4.
Now we’ll install Apache, Tomcat 7 and MySQL / MariaDB.
To do that, please first comment out the precise security repo from /etc/apt/sources.list, unless you’ll become some funny errors, which prevent to install mysql / mariadb and the other stuff on Ubuntu.
First update your container:
root@551ce948eda4: apt-get update
Install wget, unzip, etc.
root@551ce948eda4/# apt-get install wget unzip vim git-core
root@551ce948eda4:/# vim /etc/apt/sources.list
#deb http://archive.ubuntu.com/ubuntu precise-security main universe
Install MariaDB or MySQL:
root@551ce948eda4:/# echo "deb http://ftp.osuosl.org/pub/mariadb/repo/10.0/ubuntu precise main" >> /etc/apt/sources.list
root@551ce948eda4:/# apt-get update && apt-get install mariadb-server
You’ll be prompted to provide mariadb root password, provide one and keep it secret for later use.
Now open a new shell and find your running container with “docker ps -a” and commit your container from your (VM) host as a container image named “mysql”.
root@docker-ubuntu:~# docker ps -a
CONTAINER ID IMAGE COMMAND CREATED STATUS PORTS NAMES
551ce948eda4 ubuntu:precise /bin/bash 9 minutes ago Up 9 minutes berserk_turing
root@docker-ubuntu:~# docker commit 551ce948eda4 mysql
Now you can exit from your first container running in your first shell.
root@551ce948eda4:/# exit
As the next step launch back and run a new container from your mysql image with mysql data directory:
root@docker-ubuntu:~# sudo docker run -v="$HOME/mysqldata":"/data" -i -t -p 3306 mysql /bin/bash
Set max_allowed_packe to 16 MB in my.cnf:
root@44afef1fb2e5:/# vim /etc/mysql/my.cnf
Insert “max_allowed_packet = 16M” under mysqld section:
[mysqld]
...
max_allowed_packet = 16M
…
Start MariaDB:
root@44afef1fb2e5:/# service mysql start
Verify if mariadb / mysql is running:
root@44afef1fb2e5:/# netstat -anp | grep 3306
tcp 0 0 127.0.0.1:3306 0.0.0.0:* LISTEN 686/mysqld
Now we will install Tomcat 7 and download opencms.zip package from opencms.org site, extract it and copy the opencms.war file to the tomcat webapp directory:
root@44afef1fb2e5:/# apt-get -y install tomcat7
root@44afef1fb2e5:/# wget http://www.opencms.org/downloads/opencms/opencms-9.0.1.zip
root@44afef1fb2e5:/# mkdir opencms
root@44afef1fb2e5:/# cd opencms
root@44afef1fb2e5:/# mv ../opencms-9.0.1.zip .
root@44afef1fb2e5:/# unzip opencms-9.0.1.zip
root@44afef1fb2e5:/# cd ..
root@44afef1fb2e5:/# mv opencms/opencms.war /var/lib/tomcat7/webapps/
root@44afef1fb2e5:/# rm -rf opencms
root@44afef1fb2e5:/# chown -R tomcat7.tomcat7 /var/lib/tomcat7/webapps/
root@44afef1fb2e5:/# /etc/init.d/tomcat7 start
root@44afef1fb2e5:/# ls -lt /var/lib/tomcat7/webapps/
total 120752
drwxr-xr-x 7 tomcat7 tomcat7 4096 Mar 16 22:55 opencms
drwxr-xr-x 3 tomcat7 tomcat7 4096 Mar 16 21:24 ROOT
-rw-r--r-- 1 tomcat7 tomcat7 123639806 Feb 6 17:48 opencms.war
Note: the opencms.war file is extracted in opencms directory.
Install Apache2 (optional for this part of this tutorial, but please do it, it doesn’t hurt, we will install later mod_jk, mod_proxy and use it for our multi site and multi workplace configuration).
root@44afef1fb2e5:/# apt-get install apache2
root@44afef1fb2e5:/# /etc/init.d/apache2 start
root@44afef1fb2e5:/# /etc/init.d/apache2 status
Now exit again and commit your changes to a new container image named “opencms-uninstalled”
root@44afef1fb2e5:/# exit
root@docker-ubuntu:~# docker commit 44afef1fb2e5 opencms-uninstalled
5cb40732058cca38aa3828b51c644739c37049d0aa354ed353f50c8a6435e1ee
With the above command a new container image has been created on the VM host under:
root@docker-ubuntu:~# ll /var/lib/docker/containers/
total 16
drwx------ 4 root root 4096 Mar 16 23:17 ./
drwx------ 8 root root 4096 Mar 16 23:17 ../
drwx------ 3 root root 4096 Mar 16 20:17 5cb40732058cca38aa3828b51c644739c37049d0aa354ed353f50c8a6435e1ee
Now launch a new container based on our container image “opencms-uninstalled” and bind the host ip on port 80 to the tomcat port 8080 in the container, with this we can access and start installing opencms over the opencms web installer wizard:
root@docker-ubuntu:~# docker run -i -t -p 10.0.0.12:80:8080 opencms-uninstalled /bin/bash
Note: my VM host where docker and the container is running has the private IP address 10.0.0.12, you can find your IP with ifconfig eth0 (or whatever your nic’s name is).
root@2c85a892b9f3:/# /etc/init.d/mysql start
root@2c85a892b9f3:/# /etc/init.d/tomcat7 start
Now head to the OpenCms Web Installer Wizard at (replace the 10.0.0.12 IP with your own IP):
http://10.0.0.12/opencms/setup/
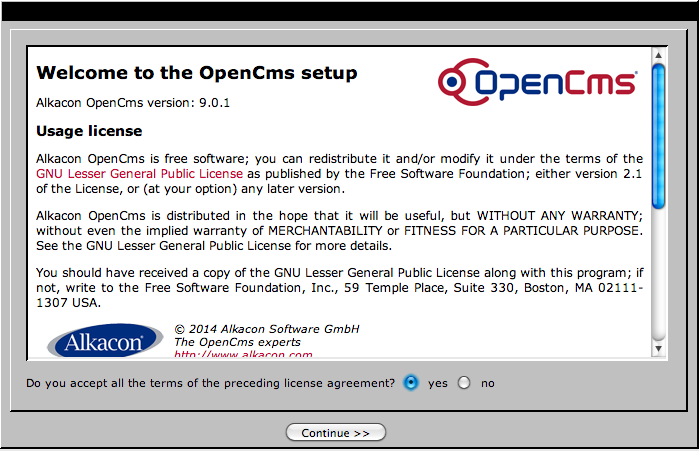
Select yes and Continue

Provide the your MariaDB secret Password:
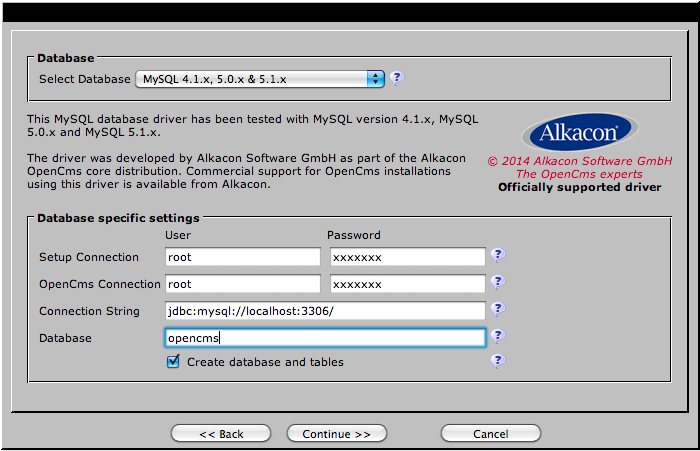

Here you will see the value of max_allowed_packet set in my.cnf file before. Click continue by the next dialogs and accept all default settings, go and have a coffee or drink a delicious German beer :-), the installation will need near to 4 - 10 minutes (depending on the power of your machine, I’m using a VM with 2 GB RAM and 1 vCPU).
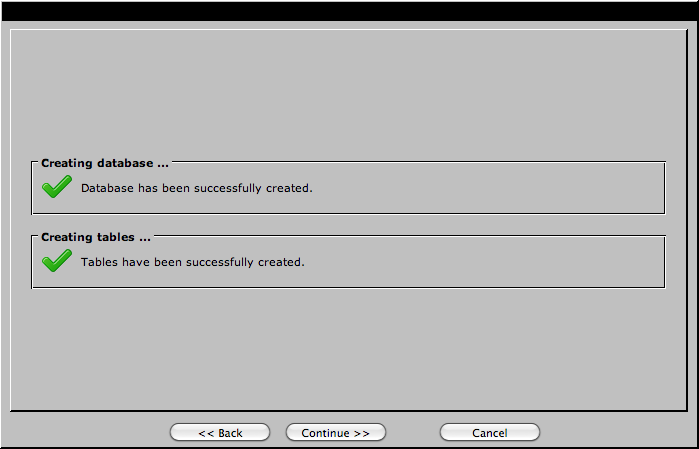

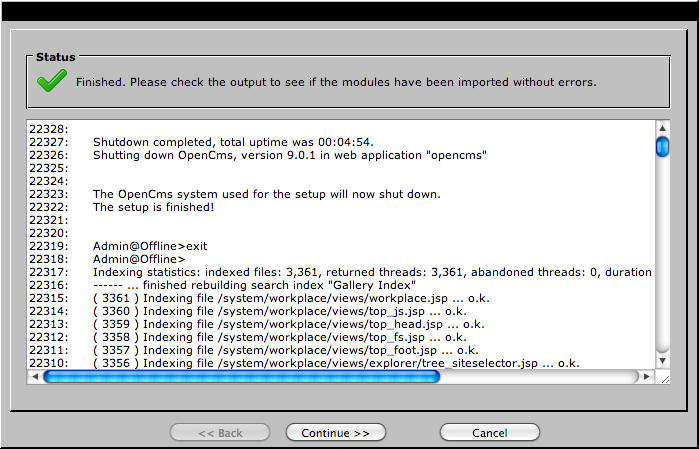
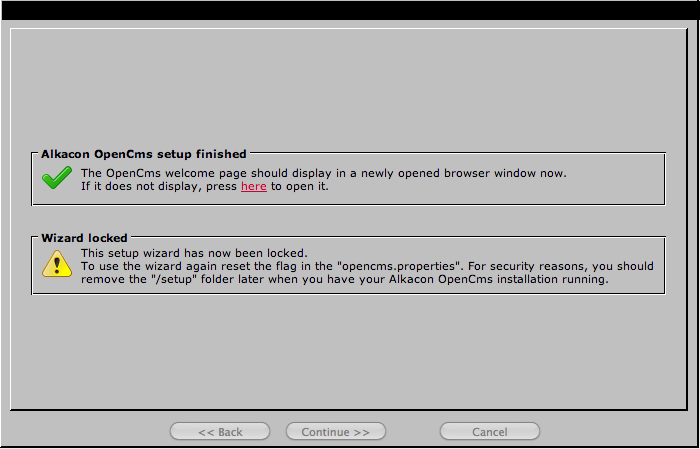
Now you can login to your OpenCms Workplace:
http://10.0.0.12/opencms/opencms/system/login
Use “Admin” as Username and “admin” as password.
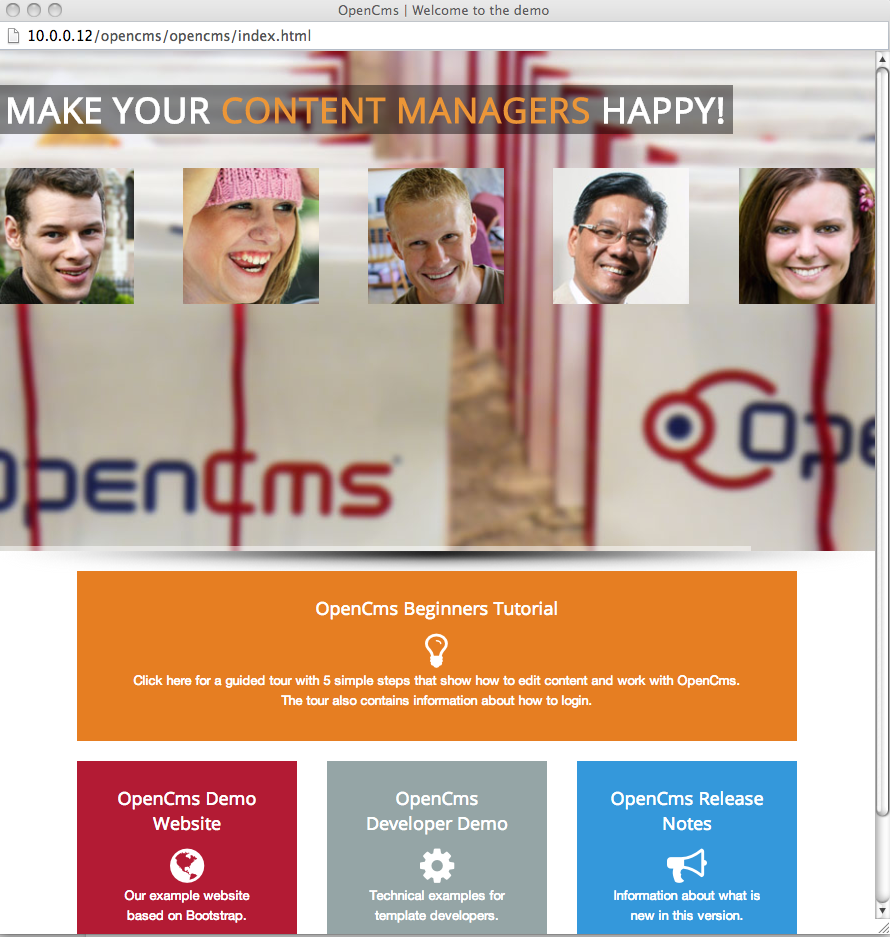
Or call the online project at:
http://10.0.0.12/opencms/opencms/index.html
And enjoy the nice responsive template created by OpenCms Experts at Alkacon Software.
Now you can commit to complete your installation and fire up some additional containerized opencms webapps, each with their own database. We will create now our “opencms-installed” base image and use it for our dockerized OpenCms Stack Cluster in part II of this tutorial.
root@2c85a892b9f3:/# exit
root@docker-ubuntu:~# docker commit 2c85a892b9f3 opencms-installed
Run a new container and start mysql and tomcat:
root@docker-ubuntu:~# docker run -i -t -p 10.0.0.12:80:8080 opencms-installed /bin/bash
root@80cd0149afee:/# /etc/init.d/mysql status
* MariaDB is stopped.
root@80cd0149afee:/# /etc/init.d/mysql start
* Starting MariaDB database server mysqld [ OK ]
* Checking for corrupt, not cleanly closed and upgrade needing tables.
root@80cd0149afee:/# /etc/init.d/tomcat7 status
* Tomcat servlet engine is not running, but pid file exists.
root@80cd0149afee:/# /etc/init.d/tomcat7 start
Call the Online project again and enjoy:
http://10.0.0.12/opencms/opencms/index.html
After playing around with OpenCms, lets do some cleanup and save our container image:
root@docker-ubuntu:~# docker images
REPOSITORY TAG IMAGE ID CREATED VIRTUAL SIZE
opencms-installed latest 0881b4dd8e22 24 minutes ago 1.649 GB
opencms-uninstalled latest 5cb40732058c About an hour ago 945.6 MB
mysql latest 57422dd2adb5 2 hours ago 504.5 MB
ubuntu precise 9cd978db300e 5 weeks ago 204.7 MB
Lets delete the first container image “mysql” and keep our opencms-uninstalled (with tomcat and mysql installed).
root@docker-ubuntu:~# docker rmi mysql
Untagged: mysql:latest
root@docker-ubuntu:~# docker images
REPOSITORY TAG IMAGE ID CREATED VIRTUAL SIZE
opencms-installed latest 0881b4dd8e22 27 minutes ago 1.649 GB
opencms-uninstalled latest 5cb40732058c About an hour ago 945.6 MB
ubuntu precise 9cd978db300e 5 weeks ago 204.7 MB
To clear out old stopped containers you might want to use:
$ docker rm `docker ps --no-trunc -a -q`
Save you base image “opencms-installed”:
Now lets save our image to a tar file and copy it over to a second VM host and import our container image there (this is like doing a SnapShot from a running VM on Eucalyptus or OpenStack, or whatever Virtualization Software or Cloud OS you're using):
root@docker-ubuntu:~# docker save opencms-installed > opencms-9.0.1-docker-installed.tar
Now copy your container image to another VM host, in this case to a CentOS host (10.0.0.14):
root@docker-ubuntu:~# scp opencms-9.0.1-docker-installed.tar 10.0.0.14:/root/
root@docker-ubuntu:~# ssh 10.0.0.14
[root@docker-centos ~]# docker load < opencms-9.0.1-docker-installed.tar
And see our loaded / imported opencms-installed container image on our CentOS host:
[root@docker-centos ~]# docker images
REPOSITORY TAG IMAGE ID CREATED VIRTUAL SIZE
opencms-installed latest 0881b4dd8e22 55 minutes ago 1.649 GB
occx latest 9de64bd57f5d 11 hours ago 1.384 GB
centos 6.4 539c0211cd76 11 months ago 300.6 MB
centos latest 539c0211cd76 11 months ago 300.6 MB
And run a new container from it (now with the internal IP of the CentOS VM: 10.0.0.14):
[root@docker-centos ~]# docker run -i -t -p 10.0.0.14:80:8080 opencms-installed /bin/bash
Start MySQl and Tomcat:
root@a680980edd9d:/# /etc/init.d/mysql start
* Starting MariaDB database server mysqld [ OK ]
* Checking for corrupt, not cleanly closed and upgrade needing tables.
root@a680980edd9d:/# /etc/init.d/tomcat7 start
* Starting Tomcat servlet engine tomcat7
Call the Online Project or login to the workplace:
http://10.0.0.14/opencms/opencms/index.html
http://10.0.0.14/opencms/opencms/system/login
Note: you’re running OpenCms on a different OS / kernel in a docker container:
root@a680980edd9d:/# uname -a
Linux 4974ec056bc2 2.6.32-431.5.1.el6.x86_64 #1 SMP Wed Feb 12 00:41:43 UTC 2014 x86_64 x86_64 x86_64 GNU/Linux
[root@docker-centos ~]# docker ps -a
CONTAINER ID IMAGE COMMAND CREATED STATUS
4974ec056bc2 opencms-installed:latest /bin/bash 55 minutes ago Up 55 minutes
Is that simple :-) You can now build your dockerized OpenCms Cloud, since OpenCms is Cloud Ready!
Please refer to this pages on our site to understand what cloud ready means:
http://cloudssky.com/en/cloud_services/cloudsite.html
http://cloudssky.com/en/events/opencms-days-2013-opencms-cloud-extensions.html
ToDo: create a Dockerfile for an All-In-One installation.